
Are you seeking a method to either temporarily or permanently disable the keyboard on your laptop? If so, you’re in luck! This guide will outline the steps to deactivate your keyboard on both Windows and Mac computers.

Disable a Laptop Keyboard
Laptops are becoming the go-to computing device for many, offering convenience and connectivity on the move. A key factor in their versatility is the built-in keyboard.
Unlike desktops requiring external keyboards, laptops integrate keyboards into their design. This allows for easy travel and comfortable typing without the hassle of connecting extra peripherals.
ad
Unfortunately, built-in keyboards can suffer damage over time. Wear and tear may lead to broken or malfunctioning keys, making typing a challenge. This often forces users to rely on the on-screen keyboard for specific characters.
To address this issue, some users opt for external keyboards. However, disabling the built-in keyboard is necessary to prevent accidental inputs.
Let’s delve into how to achieve this on both Windows and macOS systems.
How to Disable a Laptop Keyboard on a Windows 11 PC
You can disable the keyboard on your Windows 11 laptop in three ways:
1. Disabling the Keyboard via the Device Manager
Windows 11, the latest installment in the Windows series, introduces a feature tailored to laptop users, which proves to be particularly useful. This feature allows you to disable the built-in keyboard with ease using just a few steps:
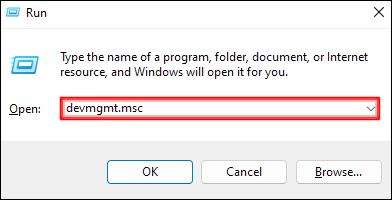
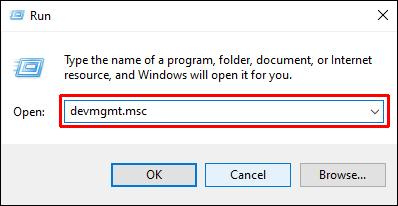
- Open the Device Manager by typing “
devmgmt.msc” into the Run dialog or by searching for “Device Manager” in the Windows search box.  In the Device Manager window, locate and click on “Keyboards.” This will display a list of all keyboards currently connected to your laptop, including the built-in one.
 Right-click on the built-in keyboard and select “Disable” from the context menu.
 Confirm your choice by clicking “Yes” in the resulting dialog box.

 In the Device Manager window, locate and click on “Keyboards.” This will display a list of all keyboards currently connected to your laptop, including the built-in one.
 Right-click on the built-in keyboard and select “Disable” from the context menu.
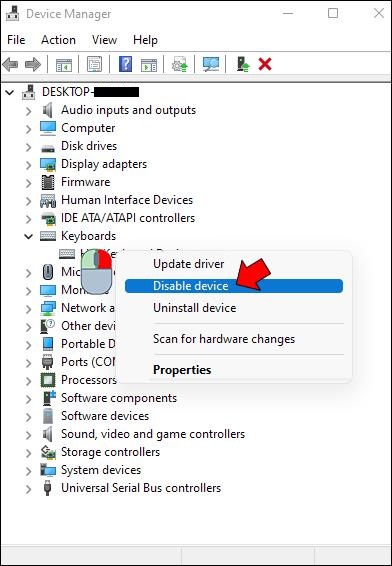 Confirm your choice by clicking “Yes” in the resulting dialog box.
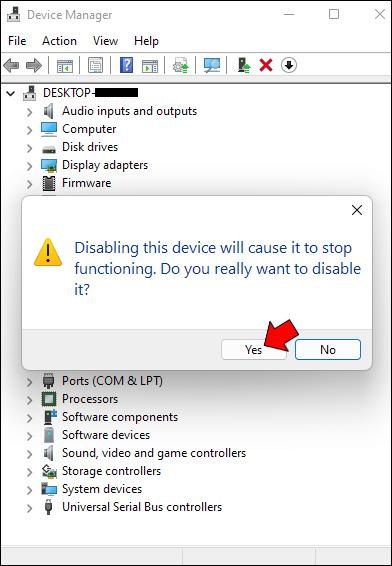
It’s worth noting that some laptop models may not have a “Disable” button but offer an “Uninstall device” option instead. Choosing this option will achieve the same result: the built-in keyboard will be disabled immediately. However, neither option is permanent, as your laptop will automatically re-enable the keyboard upon restarting.
Therefore, you’ll need to revisit the keyboard section in the Device Manager each time you boot up.
2. Disabling the Keyboard via the Command Prompt
If you wish to avoid the hassle of accessing the Device Manager each time you boot up your laptop to disable the keyboard, fret not. You can permanently deactivate the keyboard using the Command Prompt. Here’s how:
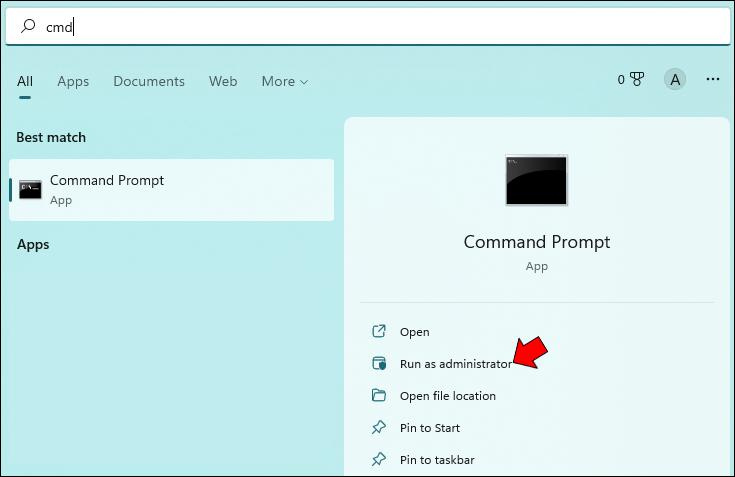
- Click on the Windows icon located in the bottom left corner and type “cmd” in the search bar.
 Right-click on “Command Prompt” and select “Run as administrator.”
 Confirm by clicking “Yes” to grant the Command Prompt app permission to make changes to your computer.
 Once the Command Prompt window appears, type the following command line and press Enter:
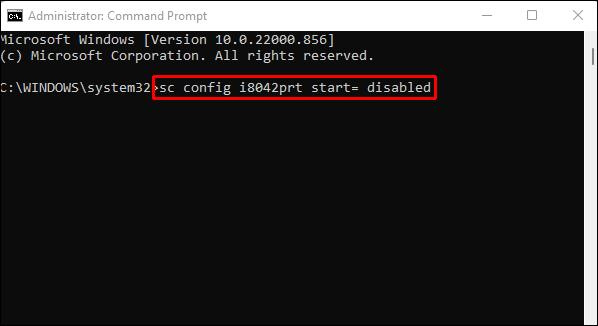
sc config i8042prt start= disabled
 Close the Command Prompt and restart your laptop.
 Confirm by clicking “Yes” to grant the Command Prompt app permission to make changes to your computer.
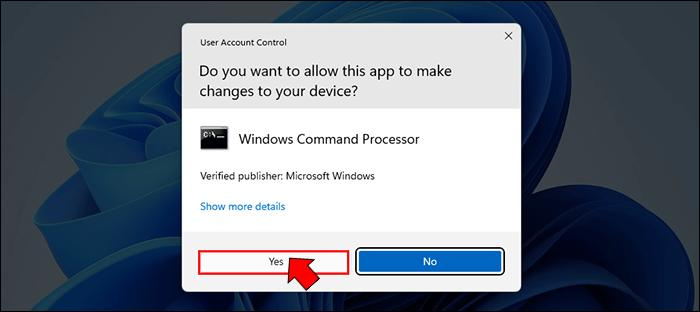 Once the Command Prompt window appears, type the following command line and press Enter:
 Close the Command Prompt and restart your laptop.
Please note that prior to executing this, you must disable the keyboard via the Device Manager as discussed earlier. This command line prevents Windows from automatically reactivating the keyboard upon restarting your laptop.
If you ever wish to re-enable the keyboard in the future, simply run the Command Prompt app and enter the following command:
sc config i8042prt start= auto
3. Disabling the Keyboard by Choosing the Wrong Driver
Here’s a unique yet effective method to disable your keyboard: pairing it with an incompatible driver. While it may seem extreme, it gets the job done, and reverting the changes is relatively straightforward.
Here’s how to pair your keyboard with an incompatible driver:
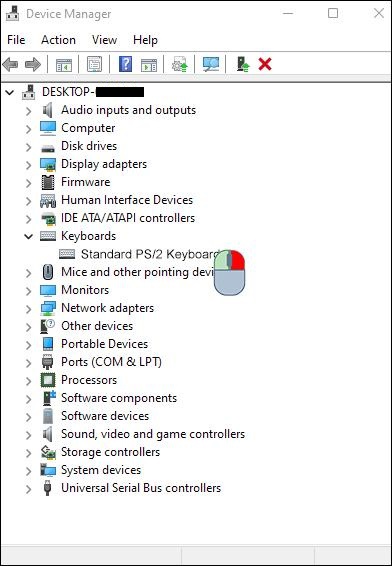
- Open the Device Manager by typing “
devmgmt.msc” into the Run dialog box. - Expand “Keyboards” and then right-click on the “Standard PS/2 Keyboard.”
 Select “Update driver” from the context menu.
 Your laptop will present options regarding how to search for drivers. Choose “Browse my computer for driver software.”
 In the next window, select “Let me pick from a list of available drivers on my computer.”
 Scroll down the list, opt for a manufacturer different from your standard keyboard, and select any model listed.
 Click on “Next.”
 Windows may warn you that the driver you’re about to install may be incompatible with your system. Confirm your choice by clicking “Yes.”
- Close the “Drivers Update” window and restart your laptop.
 Select “Update driver” from the context menu.
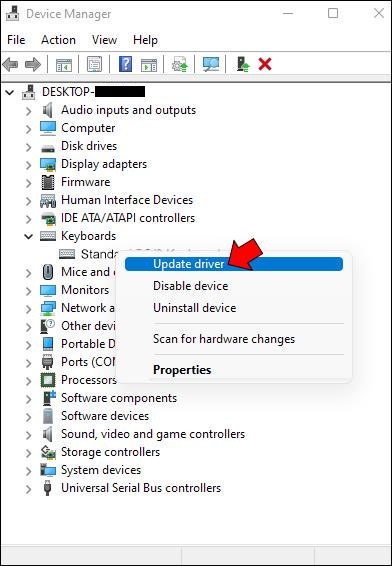 Your laptop will present options regarding how to search for drivers. Choose “Browse my computer for driver software.”
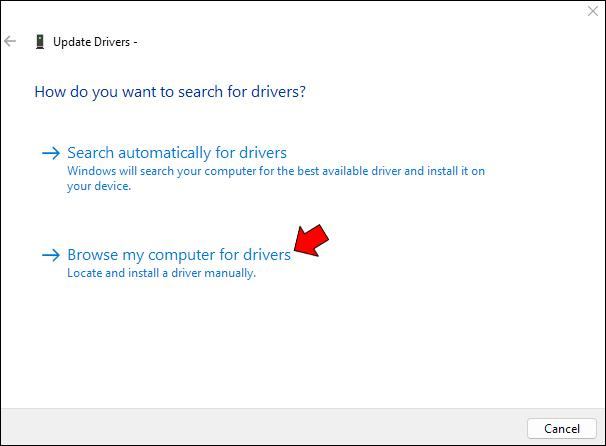 In the next window, select “Let me pick from a list of available drivers on my computer.”
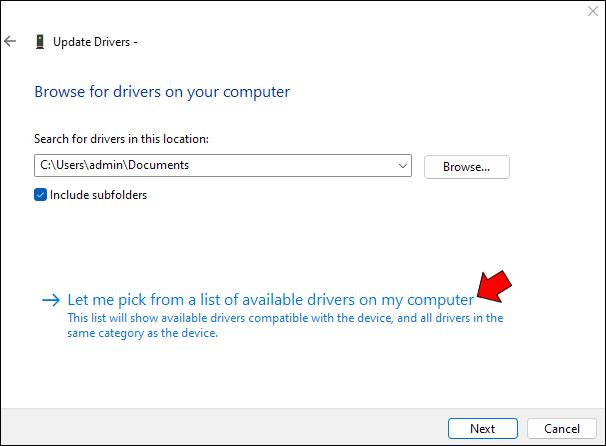 Scroll down the list, opt for a manufacturer different from your standard keyboard, and select any model listed.
 Click on “Next.”
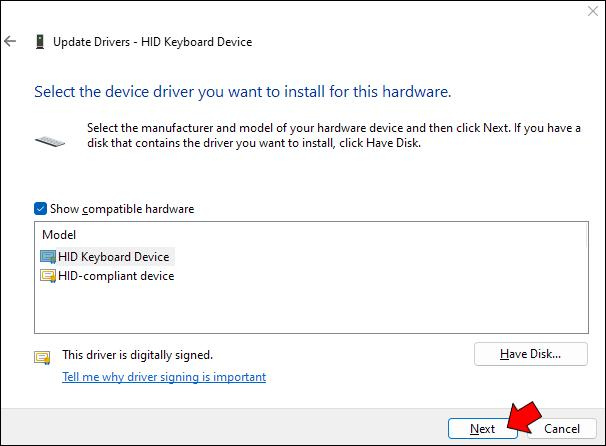 Windows may warn you that the driver you’re about to install may be incompatible with your system. Confirm your choice by clicking “Yes.”
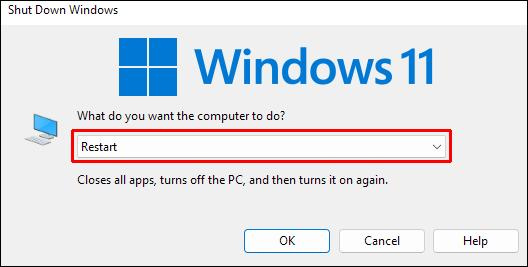 After your laptop restarts, your keyboard will no longer function. However, you can easily re-enable it by following steps 1 through 4 above and then selecting “Search automatically for drivers” instead.
How to Disable a Laptop Keyboard on a Windows 10 PC
Sometimes, you may need to disable your laptop’s keyboard, whether to safeguard it from unintended use or to prevent accidental typing errors. Here’s a step-by-step guide on how to achieve this on a Windows 10 PC:
- Open the Device Manager by searching for it in the Start menu or by pressing the Windows key + R, typing “devmgmt.msc” into the Run dialog, and pressing Enter.
 In the Device Manager window, expand the “Keyboards” section to display the list of connected devices.
 Right-click on your laptop’s keyboard entry and choose “Disable” from the context menu.
 A confirmation dialog will appear; click “Yes” to confirm and proceed.
 In the Device Manager window, expand the “Keyboards” section to display the list of connected devices.
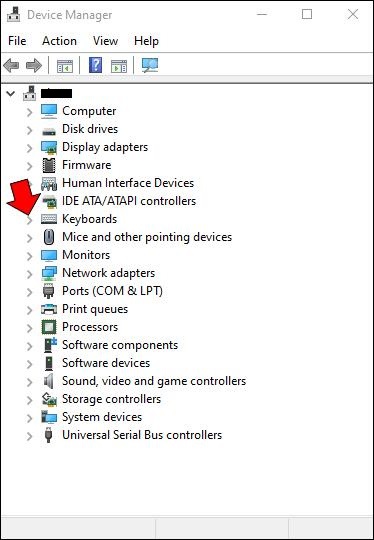 Right-click on your laptop’s keyboard entry and choose “Disable” from the context menu.
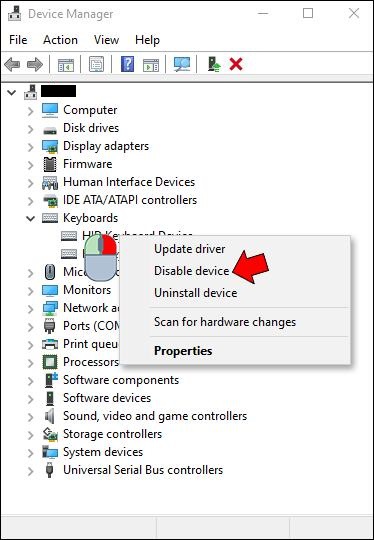 A confirmation dialog will appear; click “Yes” to confirm and proceed.
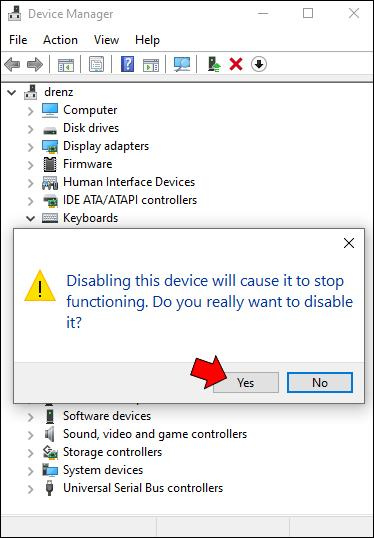
Your laptop’s keyboard is now disabled. To re-enable it, simply repeat the steps above, but in step 3, select “Enable” from the context menu instead of “Disable.”
While you can use a similar method to disable other input devices such as your mouse or trackpad, it’s advisable to avoid doing so unless you have an alternative input method available, as you may not be able to use your computer effectively without them.
How to Disable a Laptop Keyboard on a Mac
If you’re using a MacBook, there are a couple of ways to temporarily disable the built-in keyboard. One method involves activating Mouse Keys within the Universal Access preference pane.
Here’s how you can do it:
- Go to the Apple menu.
 Select “System Preferences.”
 Click on “Accessibility” (or “Universal Access” depending on your macOS version).
- Choose the “Mouse & Trackpad” tab.
- Enable Mouse Keys by checking the corresponding box.

 Select “System Preferences.”
 Click on “Accessibility” (or “Universal Access” depending on your macOS version).
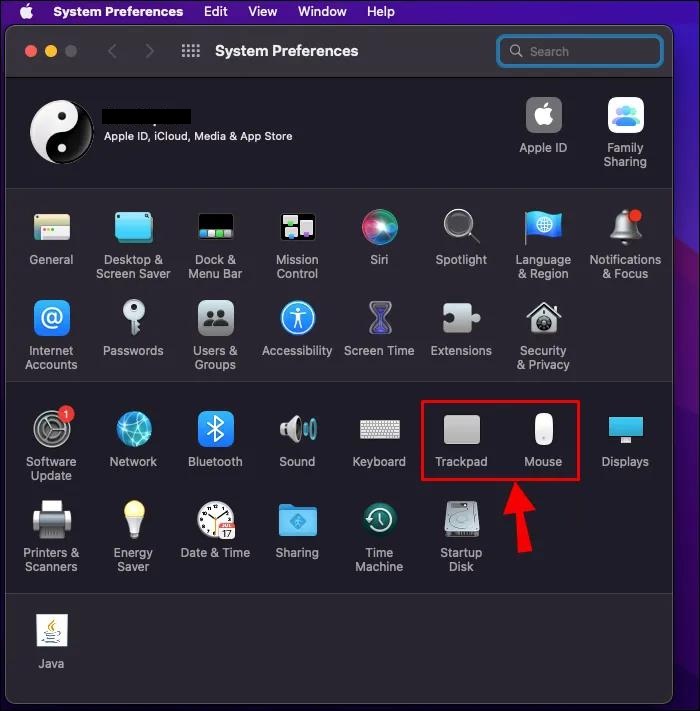
With Mouse Keys turned on, your keyboard won’t respond to keystrokes. However, please note that this method may not work on macOS Big Sur and Monterey. So, what can you do if your Mac is running on either of these operating systems?
FAQ’s
Why would I want to disable my laptop’s keyboard temporarily?
There are various reasons why you might want to disable your laptop’s keyboard temporarily. For example, to prevent accidental keystrokes while cleaning the keyboard or using an external keyboard.
Can I disable the laptop keyboard permanently?
While you can’t disable the laptop keyboard permanently using built-in settings, you can disable it via Device Manager (Windows) or Universal Access preferences (Mac) for extended periods. However, these changes may revert after a restart.
Will disabling the laptop keyboard affect other input devices?
Disabling the laptop keyboard won’t affect other input devices like a mouse or external keyboard. Your laptop will still recognize and respond to input from these devices.
Is it easy to re-enable the laptop keyboard after disabling it?
Yes, re-enabling the laptop keyboard is straightforward. Simply follow the same steps you used to disable it, but choose the “Enable” option instead.
Can disabling the laptop keyboard cause any issues or risks?
Disabling the laptop keyboard is a reversible process and typically doesn’t cause issues. However, if you rely solely on the laptop keyboard and encounter problems with external keyboards, you may face usability challenges until re-enabling the laptop keyboard.
Does disabling the laptop keyboard void the warranty?
Disabling the laptop keyboard through software settings shouldn’t void the warranty. It’s a reversible action and doesn’t involve physical modification. However, it’s always wise to consult the manufacturer or warranty terms for confirmation.
Can I disable the keyboard on older versions of Windows?
Yes, you can disable the keyboard on laptops running older versions of Windows using similar methods outlined in the guide for Windows 11 or 10.
Is there a way to disable the keyboard without administrative privileges?
Most methods to disable the keyboard require administrative privileges to access system settings or execute commands. This is to ensure system security and prevent unauthorized changes.
Conclusion
Knowing how to disable your laptop’s keyboard can be invaluable for preventing accidental inputs, protecting against damage, or facilitating the use of external keyboards. This guide has provided various methods for achieving this on both Windows and Mac systems. Whether opting for temporary or permanent solutions, exercising caution and ensuring alternative input methods are available is crucial. By following the outlined instructions, you can effectively manage your laptop’s keyboard functionality to better suit your needs and preferences.
ad
Comments are closed.